Showing posts with label Marlee. Show all posts

Wednesday, October 26, 2011

I'm Still Here, I'm Just Not All There

I'm not saying I've lost my mind ;) just that I've been so busy I may have forgot where I placed it!
Me and my family just got back from another vacation at Disney World last week (and I can definitely say that is my most favorite place on Earth)  If you're a friend of mine on facebook you have already seen many of the pictures.
Here's a couple of my favorites:
 My Cheshire Cat ear hat!

Marlee just loves to pose for the camera!

 Relaxing at the pool
 The really awesome kiddie pool at our resort...really awesome in so many ways. The girls loved it, it had 2 fun water slides just right size for them. The water wasn't deep at all, only like 6" max so they could play all they wanted and mom and dad could play too or just sit back and watch  :)
 Kevin isn't crazy about having his picture taken (hence no smile) But as you can see, I don't care I'm taking his picture dang it!
 Amazing dessert from Tutto Italia in the Italy area of Epcot. I have mentioned that I love food before, right?
 Kevin and the girls right after riding Star Tours...twice (it's a really fun ride)

 Mickey ice cream bars...the perfect snack to cool off with.
We joined Mickey and Minnie for some Halloween fun at Mickey's Not So Scary Halloween Party, a special event held select nights in the Magic Kingdom. It was so much fun, I recommend if you get the chance to do it, GO! A really magical experience - but I think everything Disney is magical :)
I'm not going to make any promises - because I don't like to break a promise, but I'll try to be back soon with some crafty goodness to share or at the very least, some craft related news!

Tuesday, August 9, 2011

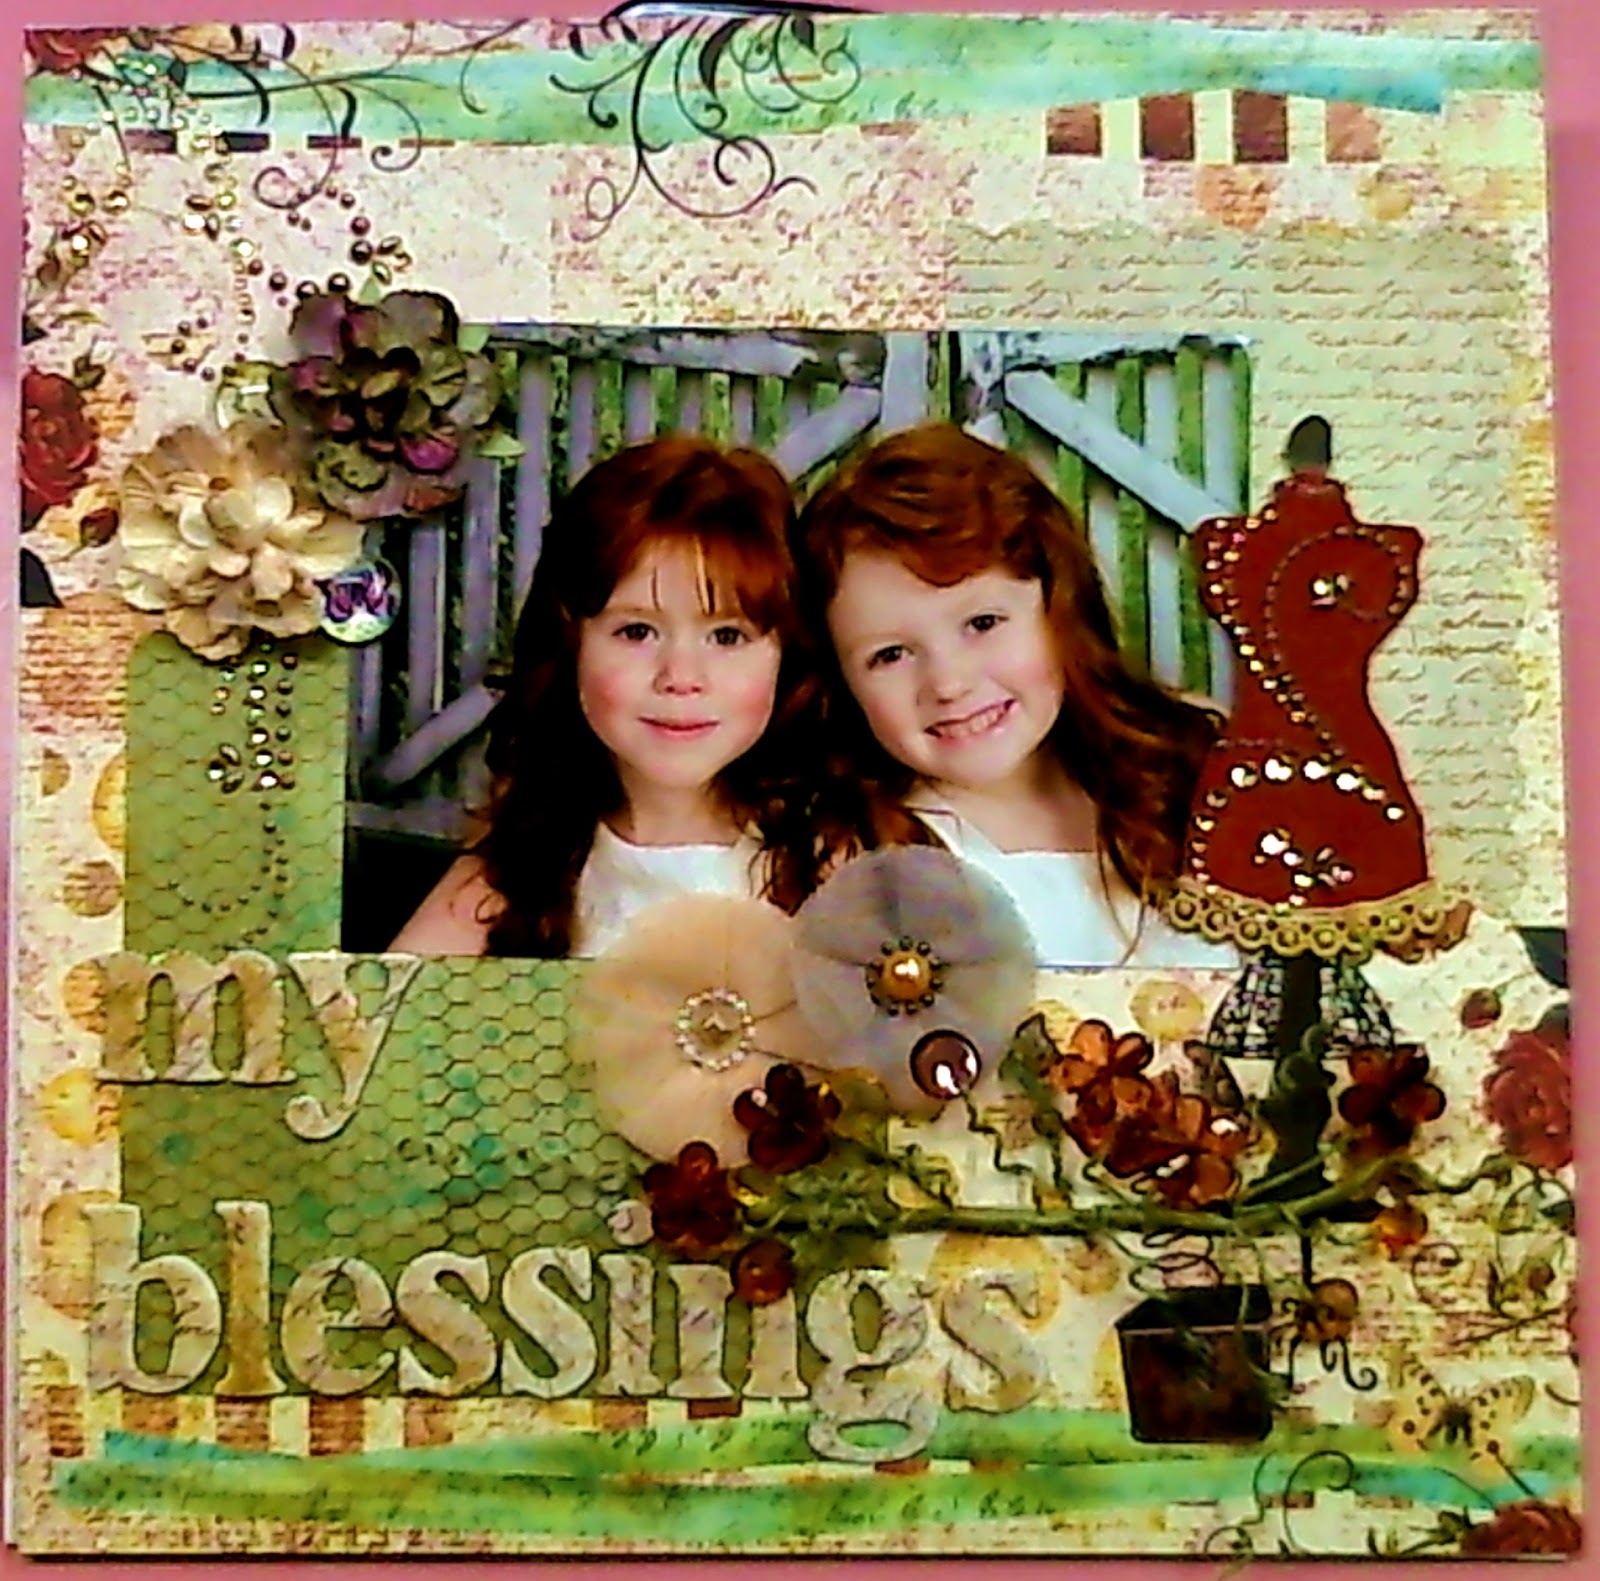
My Blessings

Whoa, here I am posting a project, I know it's been a while. I really have been making things the truth is I just hate uploading photos from my camera to my computer, then editing and then adding to the blog...
For this post I was able to cheat a little and use my webcam to take the pictures (of my project in progress) and they are automatically uploaded to my photo file so it's a lot less hassle. I know you're thinking "how lazy can she be?" I really am THAT lazy!
Now on to my layout...
(clicking on the photos will make them larger/easier to view)
I used Prima's August build-a-page sketch for my starting point (if you go check out the sketch on Prima's blog you'll see I didn't follow it very closely) The back ground paper is from the Prima Pastche collection and this sheet here is "heart strings". The other papers that my photo is placed upon are also Prima, from the 6x6 inch Backstage paper pad. I chose relatively plain/monochromatic pages from that pad so that I could stamp on them with a couple of my large background stamps (one is a script, the other is from Prima called Hexagon - but I call it chicken wire :) ) I used Saddle Brown Staz-on ink  so that I could use my glimmer mist and glimmer glams over top of the designs and they won't run or smear.
For my page title I used a Prima chipboard font and I painted the letters I needed with "Hayride" Glimmer Glam. I find it easier to paint them while still on the sheet - they stay put and I don't lose any letters before I get them stuck down (don't you hate it when you are trying  to position your letters and one comes up missing, usually one that you didn't have an extra one to begin with?)
So I placed my title on the page using Helmar 450 quick dry. Yes, those alphas are self adhesive, but I don't want them falling off later on down the road. With Helmar backing up the adhesion I know those suckers are there for good!
Next I added the bling. A dress form shape cut out of chipboard with the "body" of it covered in linen fabric that I colored using Santa Baby Glimmer Mist. I dressed it up with some Prima Pearls and Crystals swirls and a little piece of Prima lace trim that I colored with the Hayride Glam. I also glued all that down with the Helmar 450 quick dry - it really is the all-in-one glue. I also added a couple of Prima flowers to the bottom of my daughters' photo.
Lastly, I finished it up with a couple more Prima flowers, a beautiful Prima vine and a couple of Pastiche pebbles that I tucked in beside the flowers on the upper left corner of the photo. All adhered down with - you guessed it Helmar 450.
I also wanted to mention that all the crystal and pearl swirls on this layout came from one package, I just cut them apart to make them go a little further ;)
I get nearly all of my supplies at www.YourMemoriesHere.com because I really like the owner :)
I hope you'll take the time to count some of your blessings today.
HUGS,


Tuesday, May 10, 2011

Back from Vacation

Hey everyone, I'm back from my trip but still can't get into the swing of things. Is it possible to have jet lag if you've only flown from Florida to Ohio?
While at Disney World we went to Epcot, which was holding their annual Flower and Garden festival and WOW how beautiful it is. All the different plants, flowers and topiaries. It was a treat for the eyes and the nose :) It also gave lots of inspiration for some projects using Prima flowers. While the Epcot Flower and Garden festival will come to an end soon this month, the beauty of Prima's flowers will last forever (and you gotta love that!)
So I'm sharing with you some of my family's vacation pictures until I can get my butt in gear and make a project.


Tuesday, February 15, 2011

Custom T Shirts - You Can Do It!

Hey everyone! It's another quick, last minute Tuesday post for me. This project took only 10 minutes to complete - seriously!
I wanted to share with you a couple of T Shirts I made for my girls using my Cricut machine.

How do you use a Cricut to make T Shirts (I know you're thinking)? Well, I used one of the great images from the Wall Decor cartridge, the crown, and cut it out of a piece of freezer paper, yep that stuff you buy in the grocery store next to the aluminum foil and wax paper.
That becomes your stencil. Then you simply iron it onto your shirt - shiny side down and it adheres itself into place (but only temporarily) Using your favorite fabric paint or as I used fabric glue and glitter (Tulip Brand - made to be machine washed) apply it to your design. When you're done, just peel up the paper and voila! A custom T shirt.
Here are my lovely assistant's modeling their new fashions:

We still have some Cricut products left in stock at Your Memories Here, but they are clearance priced and once they are gone that's it!

Monday, September 20, 2010

Happy Birthday Lilee!

Hey everyone! Today is my little girl's 3rd birthday! I know you're probably thinking 'didn't she just write about her daughter's birthday last week?' and if you scrolled down to the last post you'd see you are correct. However I have 2 daughters and their birthdays are only 6 days apart (plus 2 years) So today Lilee is 3. We already had their birthday party (I combine the 2 parties and will continue to do so for as long as they'll let me LOL) this past weekend so today will be pretty much a normal day except we'll take her out for dinner tonight. Tomorrow is going to be her first day of pre-school and we'll have a little celebration with some treats and gift bags for her class mates. I'll be posting a crafty project for that tomorrow.

So here are some photos from the birthday party:


In case you had a few questions about these photos, Yes they both just had to get dresses up in "princess" dresses, the big hairy guy sneaking into the photos is our dog Foster, yes the 'Happy Birthday' banner in the first photo did fall down, the baby in the last photo is my niece :) Hope that covers it LOL.
I'll be back tomorrow with another post.

Tuesday, September 14, 2010

Happy Birthday Marlee

Hi! Today's project has been inspired by a special little girl's 5th birthday - which is today!

My daughter is the stereotypical girly girl, she loves all things flowery, princessy, and sparkly. Her favorite colors are purple and pink (in that order) and she loves to dress up. So I made her this flower birthday badge to wear today, for her birthday.
Yes, it's as big as it looks! I used a huge Prima flower from a mini can as the base for my design and for some extra sparkle I sprayed it with glimmer mist. The number 5 was cut out on my Cricut with the Mickey font. I also sprayed it with glimmer mist (pomegranate) and then added tons of tiny pink rhinestones. The Princess crown is a snag 'em stamp that I stamped then embossed with glitter embossing powder, cut it out and added 3 purple rhinestones. To assemble the whole thing I cut out a 2" circle of chipboard, gathered some pink tulle and hot glued it to the chipboard then hot glued the flowers, then the crown and finally the 5.
It might be a bit much for some, but Marlee loves it and can't wait to wear it to preschool today!

Sunday, June 6, 2010

My Girls

Here's a few photos of my girls (this post is mostly for my family that doesn't live near by)
We went to Old Man's Cave (in Hocking Hills Oh) last Friday.

Lilee and Marlee like hiking through the hills and then cooling off in the water.

The next few photos are my girls and my niece Dalenee. All 3 girls are about 2 years apart in age. My sister-in-law and I have been planning since Dalenee was born to get them all dressed alike to take a photo of them. It only took 10 months to make it happen :) LOL


In this photo Dalenee has a handful of both Lilee and Marlee's hair!
I think this one might be my favorite! All dressed up with bare feet, too cute (if I do say so myself)

Thursday, April 22, 2010

Happy Earth Day

Hi everyone, hope you're having a good day. We're having some beautiful weather here in Ohio. The girls and I decided to take advantage of the fair weather and do a little gardening since it's Earth day. We've got a little corner in the back of our yard just for Marlee and Lilee's flower garden because they like to pick flowers and these will be theirs so they can pick all they want (and leave mine alone).

First we had to dig up some weeds. Here's Marlee (sporting the Pocahontas braids) working on a patch.
And here's Lilee working the tiny shovel (as she calls it)
Marlee took over the camera work and snapped a few shots of me using the garden claw.
Marlee also took a bunch of other photos while she had the opportunity. This is a pretty good one she took of her sister (not bad camera work for a 4 year old)
And here is both girls waiting to add some wild flower seeds. When their garden blooms this summer I'll post some pictures of it.

Saturday, March 6, 2010

Cricut Clock

Happy Saturday everyone. Your Memories Here has a special guest designer today that helped create this project. Her name is Marlee and she is 4 years old.
She wanted to build a clock for her bedroom so her dad and I helped her make one. Here are the steps: First we cut out a template on the Cricut using a 12x24 mat and paper. She wanted it to be an oval so we used the George and basic shapes cartridge at 14" and 13" on "portrait mode" Then her dad traced the templates onto a piece of pine. The cut it out together on the scroll saw.
After they cut it, Marlee sanded the wood smooth.
She painted the cut out pieces of wood purple to match her bedroom.
She chose the Opposites Attract font for the numbers from my Cricut cartridge and wanted them to be green to match her bedroom walls. Then she decided she'd like to have a daisy by each number (totally her decision) So I used the daisy from the Walk in My Garden Cartridge. She also chose the colors. (I'm so impressed with her design skills)
After we glued all the paper cut outs down we coated the clock face with 3 coats of Modge Podge. Between the second and third coat, I sprinkled a little purple glitter all over the face of the clock.

Here is her completed clock hanging on her bedroom wall.